
Latest News
Google is Finally Letting You Change Your Gmail Address

Mozilla Extends Support for Firefox on Older Windows Version

Windows 11 Notepad Finally Gets Spellcheck, Autocorrect

Microsoft Unveils Windows 11 Checkpoint Cumulative Updates

Email Signature Handbook

Email Signature for Personal Email Examples & Key Benefits
Have you ever considered how your email signature reflects you? Often overlooked, the signature at…

How to Add & Manage Google Workspace Email Signature in 2025
You might wonder why an email signature may seem like a small detail but holds…

How to Add Signature in Exchange Email? – A Complete Guide
Do you Know centralized management of email signatures in the Exchange email ensures that end…
Recent Articles
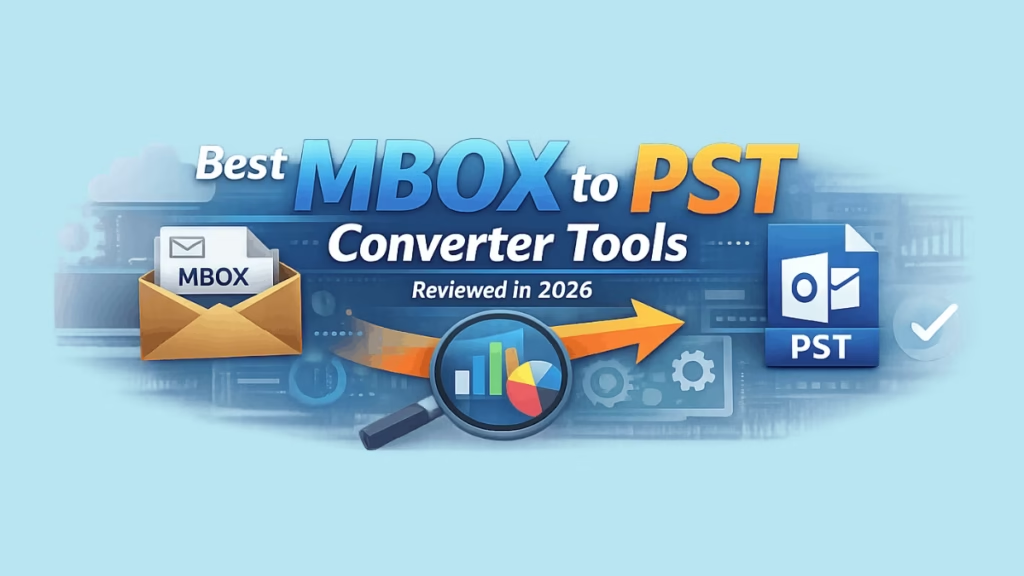
5 Best MBOX to PST Converter Tools Reviewed in 2026
The best MBOX to PST converter tool in 2026 is CoolUtils Total Thunderbird Converter, primarily due to its industry-leading processing speed of 1GB per 5–10 minutes and its budget-friendly perpetual…

How to Export Gmail Contacts to CSV for Excel (2026 Edition)
Whether you are building a professional mailing list, migrating to a new CRM, or simply keeping a secure offline backup, knowing how to export Gmail contacts to CSV or Excel…

Teams vs SharePoint: Which is Best Collaboration Tool?
When discussing business collaboration within the Microsoft environment, two names frequently pop up: SharePoint and Teams. However, choosing the right tool is vital for maximizing productivity. When evaluating Teams vs…

SharePoint Subscription Edition SE vs SharePoint Online
Choosing the right SharePoint solution is a critical strategic decision for any organization’s digital workplace. Microsoft offers two primary platforms for content management and team collaboration: the cloud-based SharePoint Online…

How to Back Up Exchange Server Mailboxes Effortlessly?
Microsoft Exchange Server is the backbone of many organizations’ email and communication systems. It manages business-critical data such as emails, contacts, calendars, and tasks. With the growing reliance on digital…

Free vs Paid MBOX to PST Tools: Which is Safer for Data?
Email migration is a critical task that requires careful consideration, especially when converting between different formats like MBOX and PST. Organizations and individuals frequently need to transfer their email data…
Exchange Online Archiving: License Cost, Size Limit & Policy
If you manage Microsoft 365 mail, Exchange Online Archiving (EOA) is the feature that keeps your users’ inboxes lean, your compliance team happy, and your storage predictable. This guide goes…

Guide to Microsoft Exchange Server Subscription Edition (SE)
Microsoft Exchange Server Subscription Edition (SE) represents a pivotal moment for on-premises email infrastructure, signaling a fundamental shift in how the platform is licensed, serviced, and secured. The product is…

How to use remove-msoluser to delete users from Office 365?
The Remove-MsolUser cmdlet is a powerful command used in the MSOnline PowerShell module to manage user deletion in Microsoft 365 (formerly Office 365). It allows administrators to perform two key…