If you’re looking to switch from Gmail to Outlook, you may be wondering how to transfer your important emails. While it may seem like a daunting task, transferring your emails is actually quite simple with the right tools and guidance. In this blog post, we’ll provide a step-by-step guide on how to transfer emails from Gmail to Outlook.
Ways to Transfer Emails from Gmail to Outlook
There are several ways to transfer emails from Gmail to Outlook. Here are the most common methods:
Export and Import
The first method involves exporting your Gmail emails to a file and then importing that file into Outlook. To do this, you need to create an archive of your Gmail data and download it to your computer. Then, you can import the file into Outlook by selecting the file to import and choosing which emails to import.
Forwarding Emails
Another option is to forward your Gmail emails to your Outlook account. To do this, you need to set up forwarding in your Gmail account and enter your Outlook email address. This will automatically forward your emails to your Outlook account.
Using an Email Migration Tool
There are several email migration tools available that can help you transfer emails from Gmail to Outlook. These tools can automate the transfer process, making it faster and more efficient. Some popular email migration tools include HCL Notes to Outlook Converter, Shoviv for Gmail to PST, and Shoviv Gmail Backup tool.
Syncing Accounts
You can also sync your Gmail and Outlook accounts to transfer your emails. To do this, you need to connect your Gmail and Outlook accounts using a third-party tool. This will automatically sync your emails between the two accounts, ensuring that you have access to all of your emails in both places.
No matter which method you choose, transferring your emails from Gmail to Outlook is a simple process. By following the steps outlined above, you can ensure that your important emails are safely and securely transferred to your new email client.
Export Gmail Emails
Before you can transfer your emails from Gmail to Outlook, you need to enable IMAP access in your Gmail account. IMAP (Internet Message Access Protocol) is a standard protocol used to access email messages on a server. Here’s how to enable IMAP access in your Gmail account:
Step 1: Enable IMAP Access in Gmail
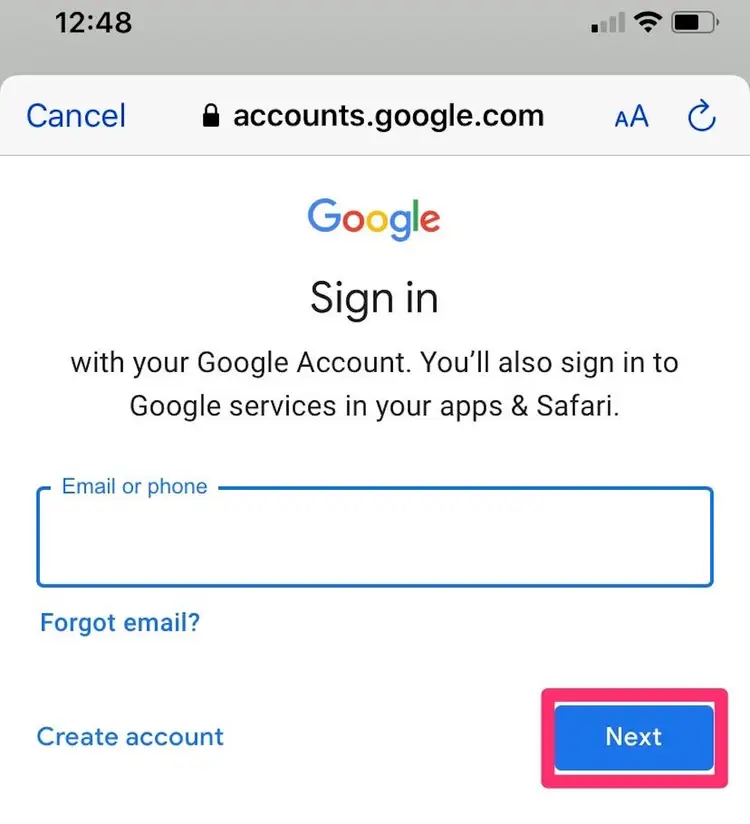
- Sign in to your Gmail account.
- Click on the Gear icon in the top right corner and select “Settings.”
- Click on the “Forwarding and POP/IMAP” tab.
- Under the “IMAP Access” section, select “Enable IMAP.”
- Click on “Save Changes” at the bottom of the page.
Step 2: Add Your Gmail Account to Outlook
Once you’ve enabled IMAP access in your Gmail account, the next step is to add your Gmail account to Outlook. Here’s how to do it:
- Open Outlook and click on the “File” tab.
- Click on “Add Account” under the Account Information section.
- Select “Manual setup or additional server types” and click “Next.”
- Choose “POP or IMAP” and click “Next.”
- Fill out the required fields, including your name, email address (Gmail), account type (IMAP), incoming and outgoing server settings, and login credentials.
- Click “More Settings” and navigate to the “Advanced” tab.
- Under the “Folders” section, select “Root folder path” and enter “INBOX” (in all caps).
- Click “OK” to save the settings and then click “Next” and “Finish” to complete the setup process.
Preparing for Import into Outlook
Before you can import your Gmail emails into Outlook, there are a few things you’ll need to do to prepare. We’ll cover the steps for creating an Outlook account and setting up the import process.
Create an Outlook account
If you don’t already have an Outlook account, go to the Outlook website and create a new account. Follow the prompts to enter your name, desired email address, and password.
Enable IMAP in Gmail
To allow Outlook to access your Gmail account, you’ll need to enable IMAP in your Gmail settings. To do this, log in to your Gmail account and go to Settings > Forwarding and POP/IMAP. Under IMAP Access, select Enable IMAP and click Save Changes.
Configure Outlook to access Gmail
Open Outlook and go to File > Account Settings > Account Settings. In the Email tab, click New and enter your Gmail email address and password. Outlook will automatically configure the settings for your Gmail account.
Set up the import process
To import your Gmail emails into Outlook, go to File > Open & Export > Import/Export. In the Import and Export Wizard, select “Import from another program or file” and click Next. Select “Outlook Data File (.pst)” and click Next. Browse to the location where you saved your Gmail archive file and select it. Choose whether to allow duplicates or not, and click Next. Select the folder where you want to import the emails to and click Finish.
Importing Gmail Emails into Outlook
Now that you’ve exported your Gmail emails and prepared your Outlook account, it’s time to import your emails into Outlook. We’ll guide you through the process of importing your emails, including selecting the file to import and choosing which emails to import.
- Open Outlook and go to “File” > “Open & Export” > “Import/Export”.
- Select “Import from another program or file” and click “Next”.
- Select “Outlook Data File (.pst)” and click “Next”.
- Click “Browse” and select the .pst file you exported from Gmail earlier.
- Choose the option “Replace duplicates with items imported” if you want to avoid having duplicate emails in Outlook.
- Select the folder you want to import your Gmail emails into (for example, your Inbox) and make sure that the “Include subfolders” box is checked.
- Click “Finish” to begin the import process. This may take some time, depending on the size of your Gmail archive.
- Once the import is complete, you should see your Gmail emails in Outlook. You can also access them by going to the folder you selected during the import process.
Congratulations! You have successfully imported your Gmail emails into Outlook. You can now access all your emails in one place and continue your work without any interruption.
Also, Read: How to Migrate Emails from Windows Live mail to Outlook?
Troubleshooting Common Issues When transferring Gmail to Outlook
In this section, we’ll cover some common issues that may arise during the transfer process and how to troubleshoot them. This will include issues with exporting your Gmail data and importing it into Outlook.
Troubleshooting Common Issues:
Unable to export Gmail data
Solution: Check if you have enabled the correct settings in Gmail to allow data export. Ensure that you have a stable internet connection and try again. If the issue persists, try using a different browser or contact Gmail support for assistance.
Unable to import Gmail data into Outlook
Solution: Ensure that you have selected the correct file to import and that it is in the correct format. If the file is corrupted, try exporting it again from Gmail. Also, make sure that your Outlook version is compatible with the imported file.
Missing emails after import
Solution: Check the import settings to ensure that you have selected the correct options to import all emails. If the issue persists, try exporting and importing the data again, making sure to select all the required folders.
Duplicate emails after import
Solution: Check the import settings to ensure that you have not selected the option to import duplicates. If duplicates are imported, delete them manually or use a duplicate remover tool.
Emails not displaying properly in Outlook
Solution: Check if your Outlook version is up to date and compatible with the imported file. Also, check if any formatting or attachments were lost during the import process. If the issue persists, try re-importing the data with different settings or contact Outlook support for assistance.
By following the steps outlined in this guide and troubleshooting any issues that arise, you should be able to transfer your important emails from Gmail to Outlook smoothly and efficiently.
Conclusion:
Transferring your emails from Gmail to Outlook may seem daunting, but with the right guidance and tools, it’s actually quite simple. By following the steps outlined in this guide, you can ensure that your important emails are transferred safely and securely to your new email client.
Additionally, it’s important to remember that while the transfer process is straightforward, it may take some time depending on the amount of data you’re transferring. Be patient and allow the process to complete fully. If you do encounter any issues, refer back to the troubleshooting section to help resolve them. Once the transfer is complete, you can start using Outlook with all of your important emails in one place.

